
5 Steps to Install an Air Conditioner | Air Conditioner Installation in Garland, TX
Photo By fasthorses at Shutterstock
So, the time has come for you to replace your existing AC with a new one. It is wise on your part if you have switched to an energy-efficient model. Not only will it help you stay comfortable during the hot summer months, but it will also help you save money. Air Conditioner installation in Garland, TX, is easy but before you do it, you need to make certain preparations.
Let’s take a look at some of the preparations you need to make prior to air-conditioner installation in Garland, TX.
What Do You Need?
Before air conditioner installation in Garland, TX, the AC contractor that you have hired for the project will take certain measurements. The reason behind these measurements is to figure out the energy load. This will include your house’s structure, the roof, the windows, etc. These measurements will help you in determining the AC model that you need in your living space. Before you go for a particular brand, have a detailed word with your contractor. Professional AC contractors execute such projects on a daily basis, and they can guide you on which brand or model you should buy.
Cleaning and Sealing of the Ducts
Now that the measurements have been taken, the next important step prior to air conditioner installation in Garland, TX, is cleaning and sealing of the ducts. Installing a brand new air-conditioner on dirty ductwork can be extremely problematic in the long run. The quality of air inside your living space depends on the cleanliness of your ductwork. Before an AC is installed, make sure that the ducts are cleaned and sealed properly by a professional technician. Even if it hasn’t been long since you cleaned your ducts, it is better to present your new AC with something clean.
Clear the Path
The third and last step when preparing for air conditioner installation in Garland, TX is clearing the path. You need to clear the area, as well as the surrounding areas, where the AC has to be installed. Be it the stairs, a porch, or a corridor near the AC, all of them should be clean and clear. The surrounding areas need to be clear of things like yard waste and leaf piles, so as to make the installation process as simple as possible. Also, get rid of all such things which might get the way of your AC installation technician, like toys, garden hoses, footwear, etc.
Now that we have discussed the preparation steps, let’s move to the key steps involved in air conditioner installation in Garland, TX.
Mount It Up
A normal air-conditioner is divided into two parts: the indoor unit and the outdoor unit. The first step in air conditioner installation in Garland, TX is the installation of an indoor unit. Considering the measurement talked about in the previous paragraphs, the contractor will locate a suitable spot on your indoor wall. Then holes are drilled into the wall and the indoor unit is mounted.
Drill a Hole
The next step in air conditioner installation in Garland, TX is drilling a hole in the wall close to where the AC is installed. Do not worry about drilling a hole, for this hole bridges the gap and connects your indoor unit to the outer one.
To make your curiosities go away, the following items will run through the hole that you drill.
- Electrical wiring connecting the indoor AC unit to the outdoor condenser.
- Drainage lines that are used for the elimination of access moisture.
- A tube that provides cool air from the outdoor unit to the indoor unit of the AC.
Wire It Up
Now that the AC has been mounted, comes the part where you need to bring the wiring in. A crucial step in air conditioner installation in Garland, TX is running the piping and wiring through the hole that is freshly drilled. The entire bundle needs to be tied together safely with a good quality electrical tape. It also needs to be covered in a PVC tube. A lot of AC technicians, incidentally prefer to install the indoor unit on an outside wall near the outdoor unit, as it brings the installation costs down. In some case this is not feasible, for the wiring and piping will have to run through the ceiling. Don’t worry, a majority of the AC installers possess the license which covers most of the wiring during AC installation.
Securing the Indoor Unit
Now that mounting is done and dusted, comes the part where the indoor unit of your AC has to be placed. Placing an indoor unit is same as joining to pieces of Lego together. However, these pieces are heavy and a strong push is required to bring them together. Now that the indoor unit is secured, all your contractor has to do is the run the wiring and the piping through the hole that we drilled in the 3rdparagraph.
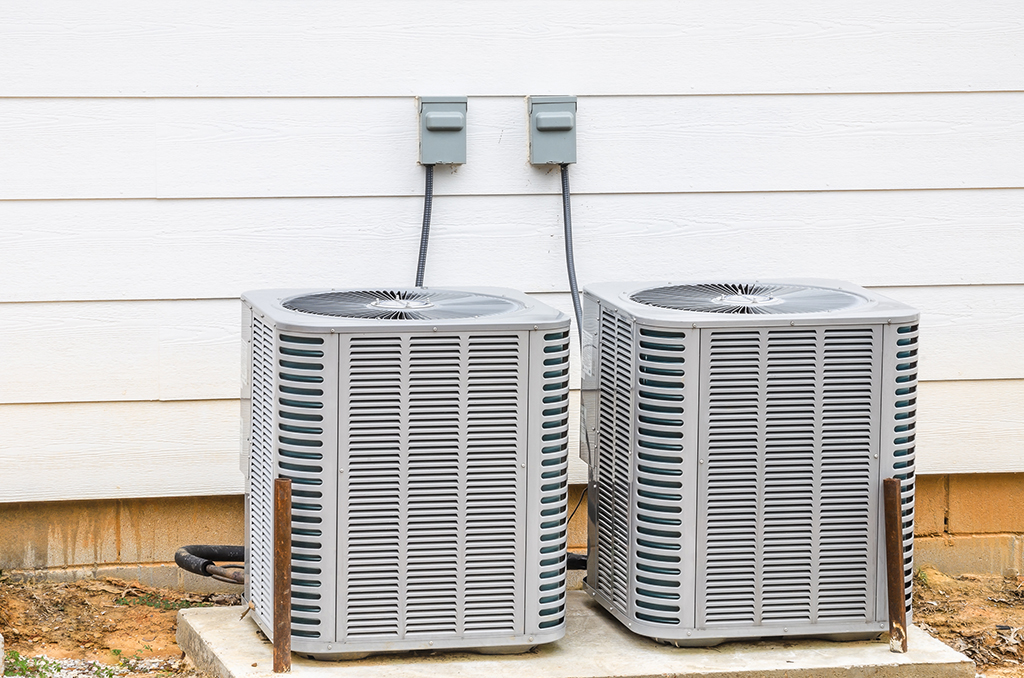
Time for the Outdoor Unit/Condenser
Up until now, only half of the job has been done, the outdoor unit is yet to be installed. Your AC needs cool air to maintain your indoor temperature. But that air has to come from somewhere. This is where an outdoor condenser comes in. Your outdoor condenser is one heavy unit, which needs warm air from the outdoors to ensure the provision of cool air to the indoor unit. For the ground floor unit, the condenser will be placed on the grounds. However, for the floors above, a bracket needs to be installed to mount the condenser. Once both the units are secure, the technician will connect the two and the AC will be ready for use.
Conclusion
Air conditioner installation in Garland, TX is a complex process and must be done by a professional. If you are searching for the best air-conditioning services, take a look at the ones on our website.
